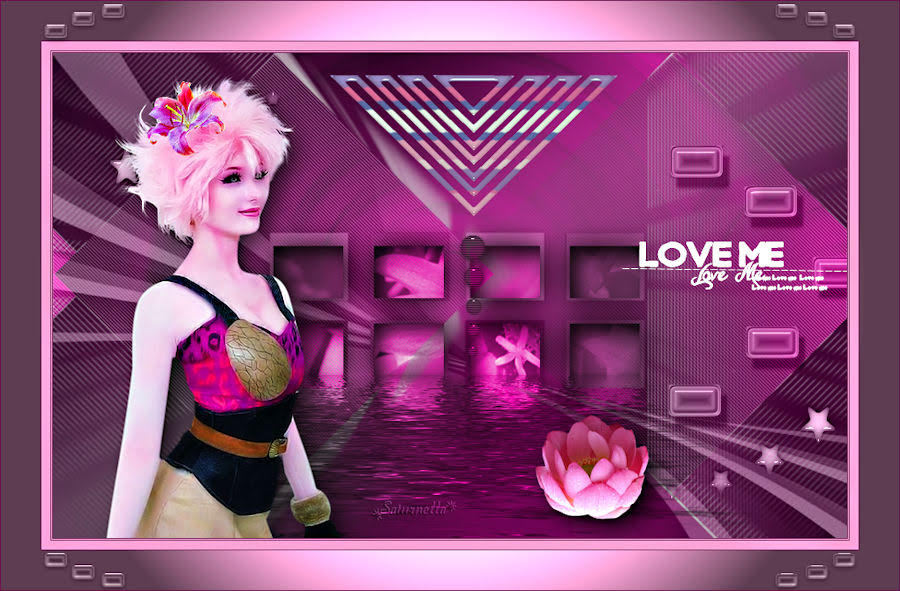
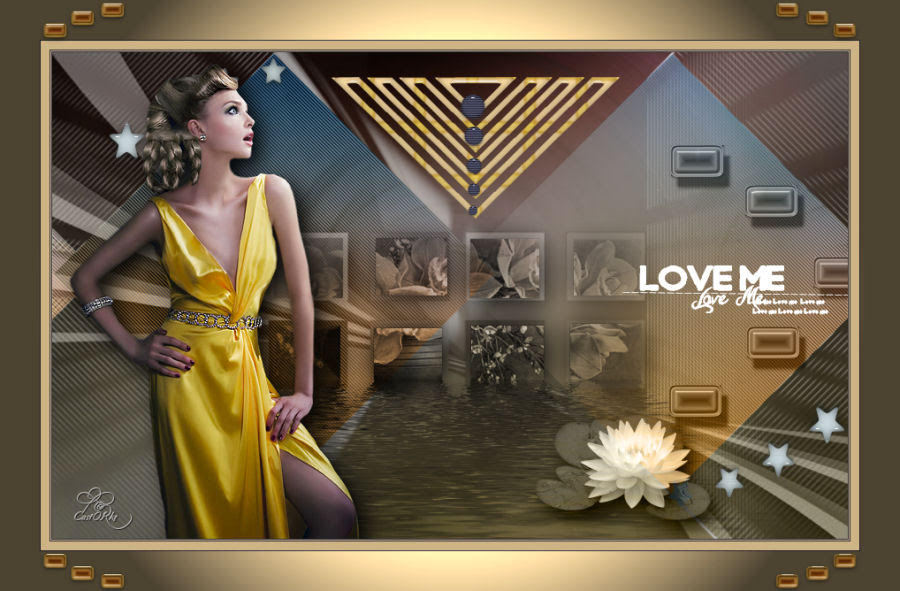
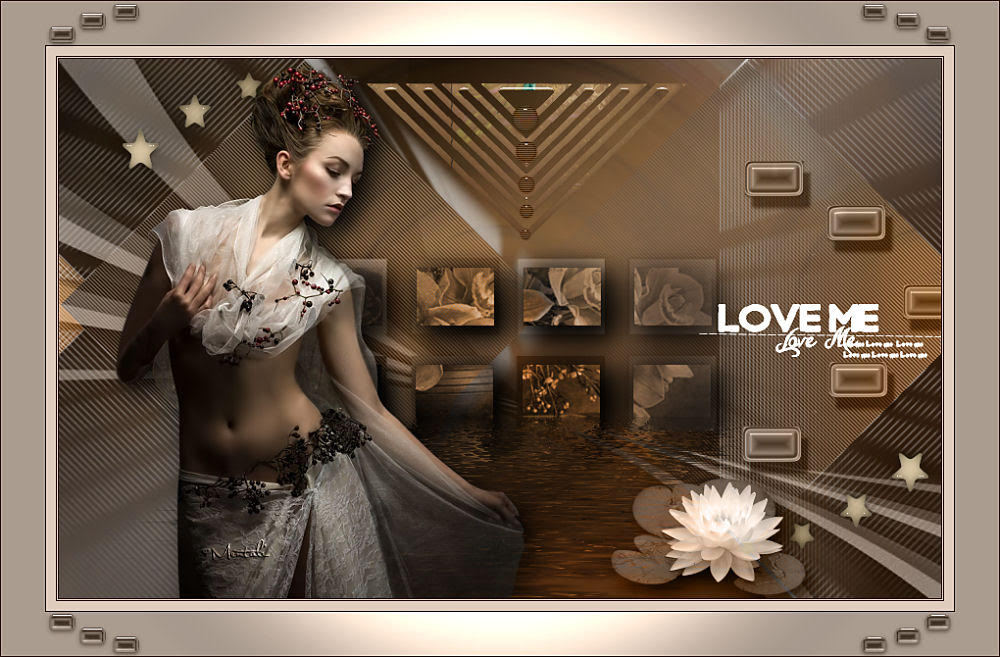
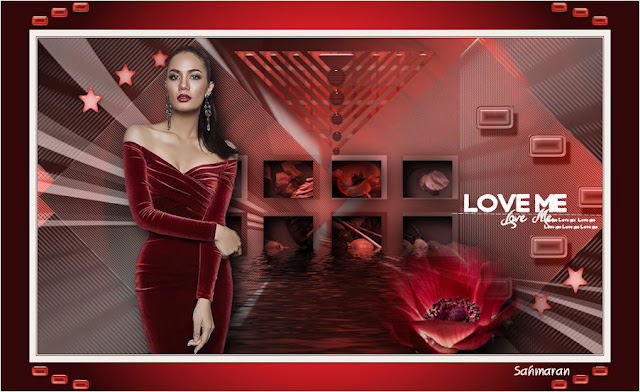
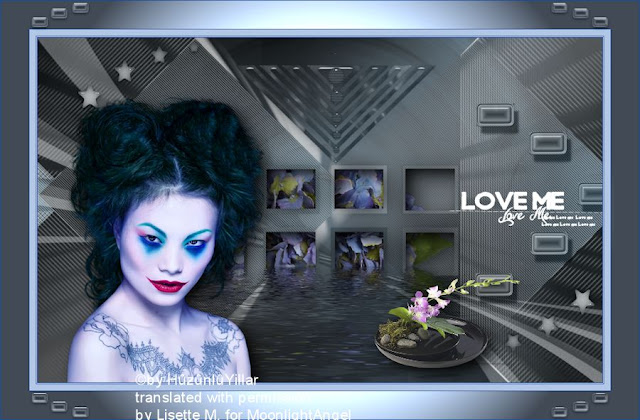
Love Me Tutorial
This tutorial is written in PSP x8
Translators
Nederlandse vertaling door Lisette
Gracias por la traducción al español Tati Design
Danke für die Deutsch Übersetzung Anja
Merci pour la traduction française, Sophie

Tube
Animabelle
LB Tubes
Plugins
Penta.com
Alien Skin Eye Candy 5: Impact
Flaming Pear
Filter Factory Gallery A
Mask
GraphicsBeatrice
Materials
Preparation:
Properties Foreground; set your Foreground color to #dfccbc
Properties Background; set your Background color to #2d190c
- You can double click to enlarge image
1.File/ New – Open 900×550 Transparent Image
2.Selections _ Select All
3. File – Open ımage Sah Love me Background
4.Edit-Copy – Paste ın to selection
5.Selections – Select none
6.Selections – Load / Save Selection – Load Selection From Disc – Sah Love Me Selection 1
7.Selections – Promate Selection to Layer
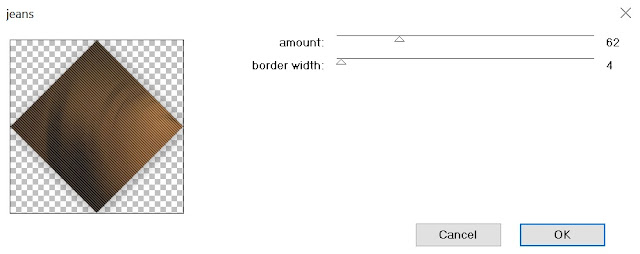
8.Effects – Pente.com – jeans
9.Effects – Image Effects – Seamles Tiling
10.Selections – Select None
11.Effects – Alien Skin Eye Candy 5: Impact / Backlight /Sah Love Me
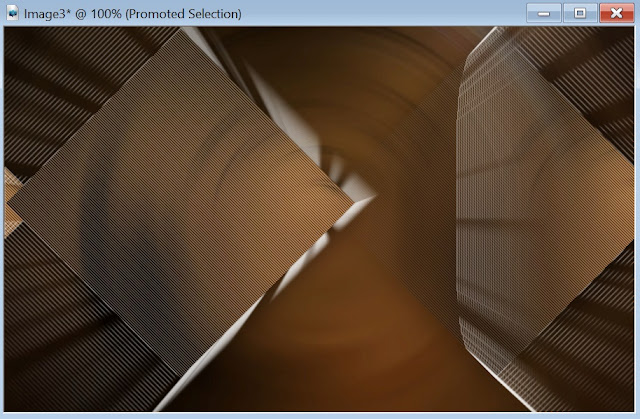
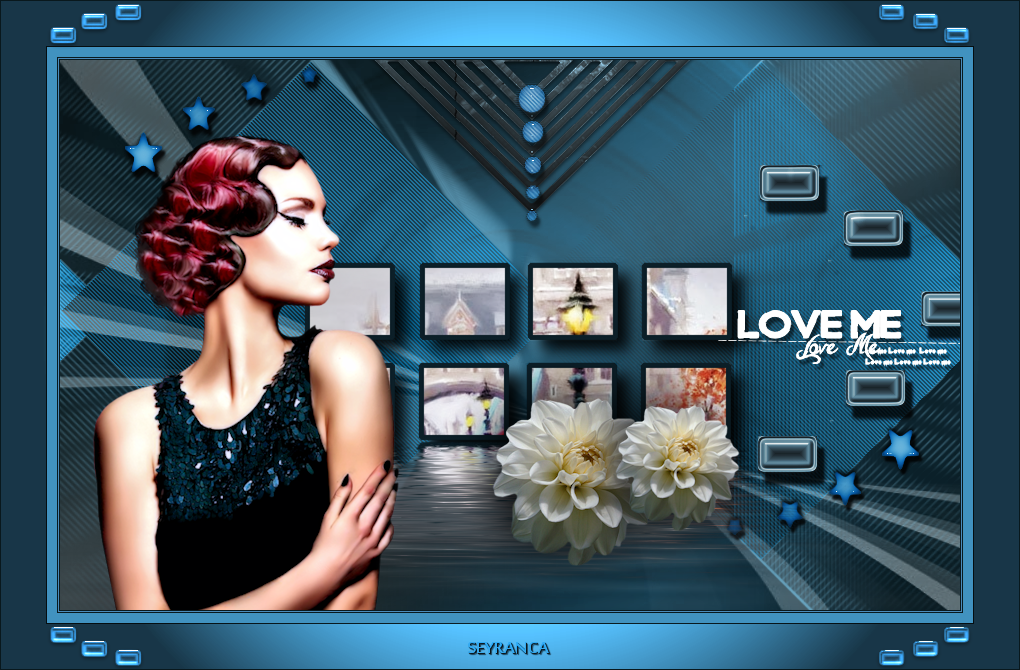
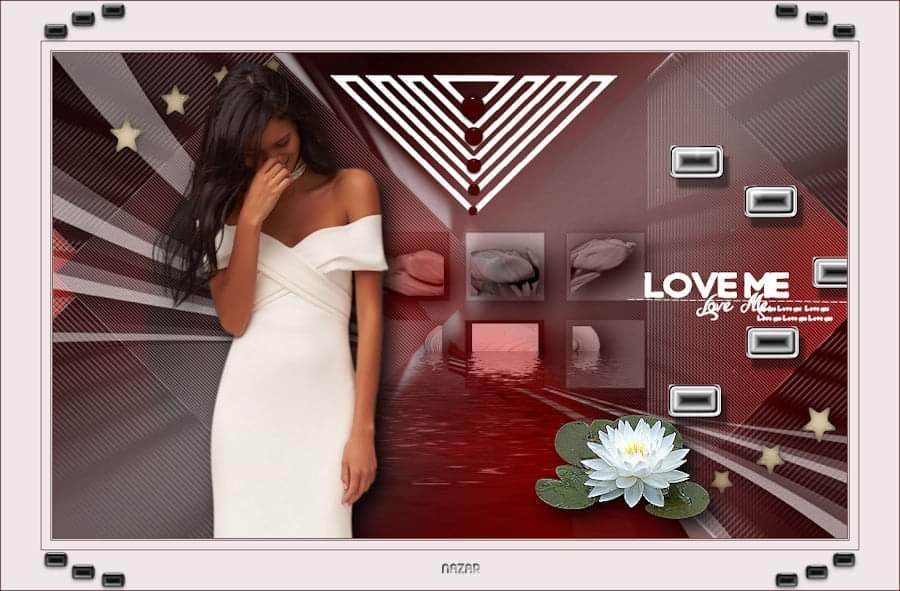
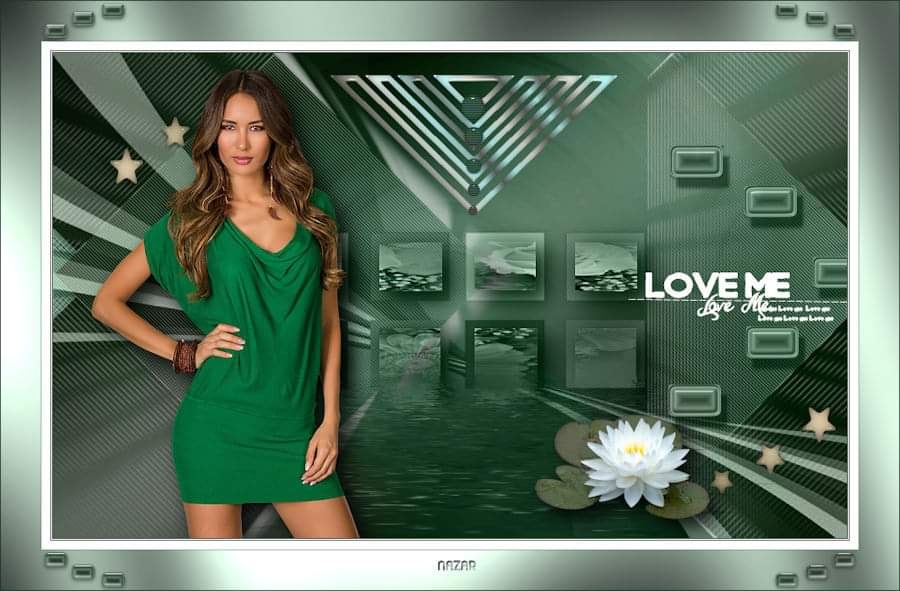
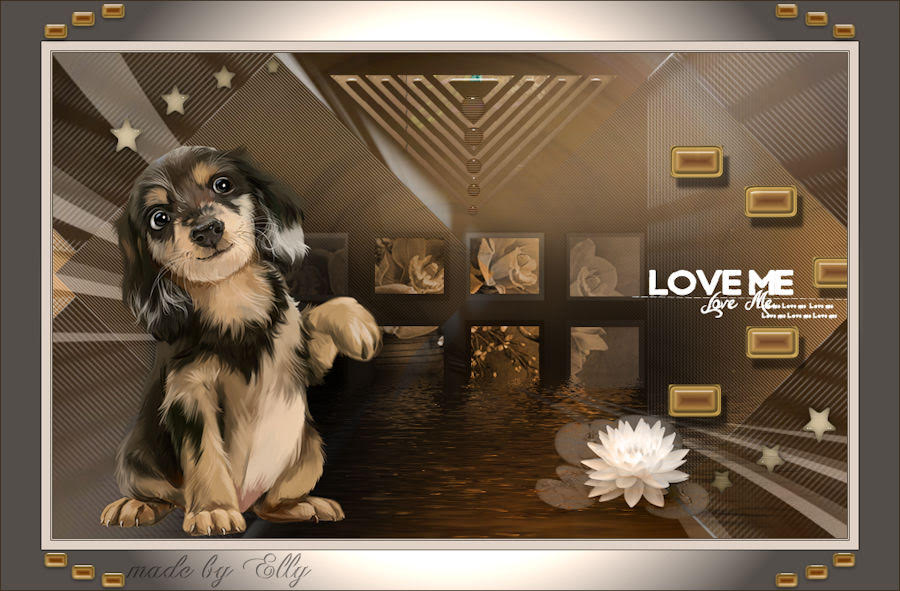
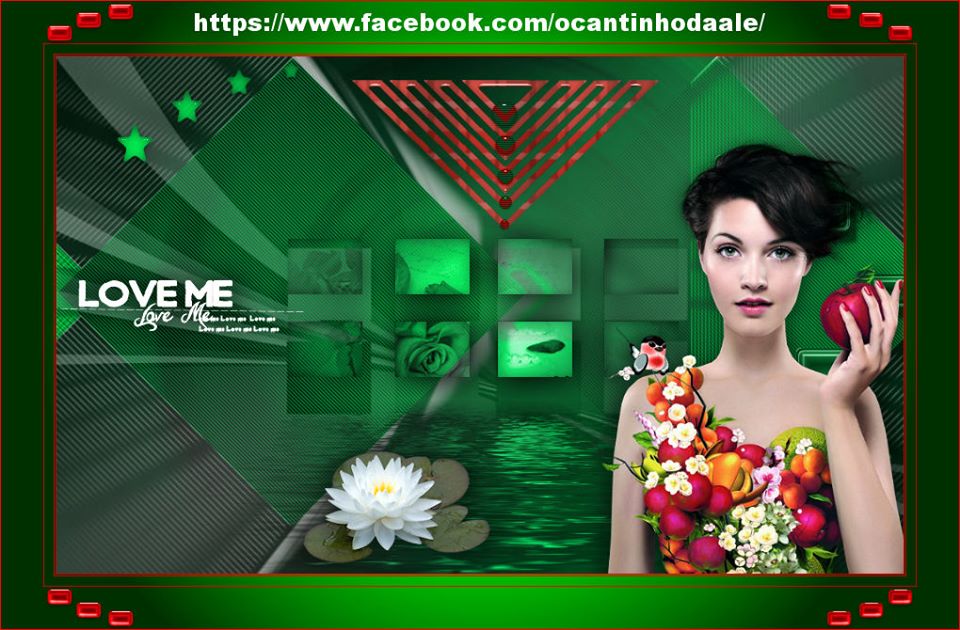
Your work looks like this…
12.Layers – New Raster Layer
13.Flood Fill Color #dfccbc
14.File – Open – Mask – GraphicsBeatrice
15.Layers- New Mask Layer – From Image
16.Layers – Duplicate
17. Layers – Merge – Merge Group
18.Blend Mode- Luminance ( Legacy) – Opacity – 76
19.Effects -Alien Skin Eye Candy 5: Impact- PerspectiveShadow- Drop Shadow / Blurry
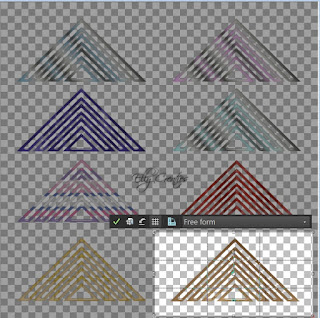
20.File – Open -Deco – Sah Love Me Deco 1
21.Edit-Copy – Layers new raster layer
22.Effects – Alien Skin Eye Candy 5: Impact- Glass / Sah Love me 2
Activate pick tool
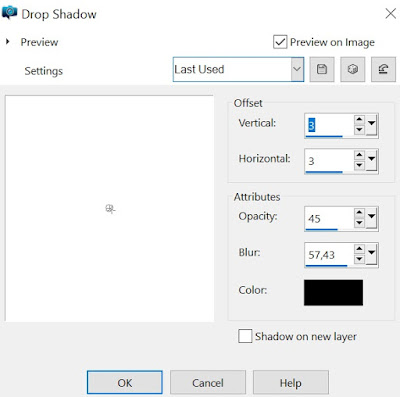
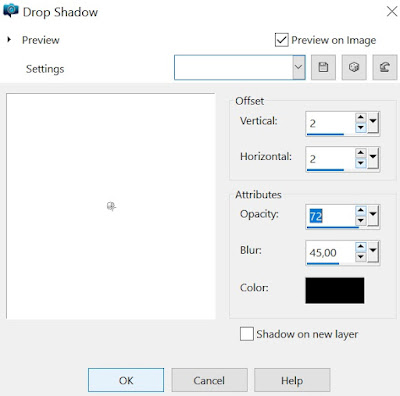
23.Effects – 3D Effects – Drop Shadow
24.Layers Duplicate
25.Image – Mirror – Mirror Horizontal
26.Image – Flip – Flip Vertical
28.Layers – Merge – Merge Down
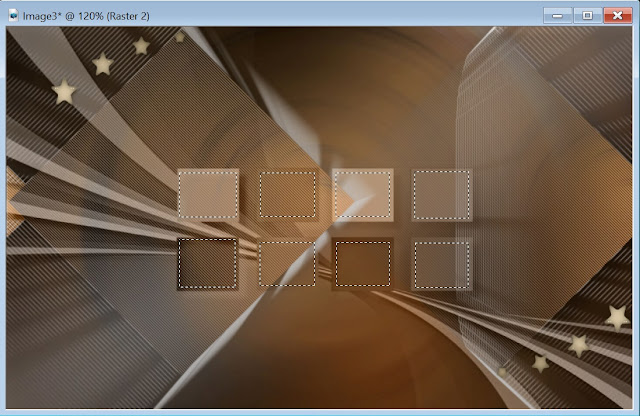
29.Selections – Load / Save Selection – Load Selection From Disc -Sah Love Me Selection 2
30.Mark as in the image….
31.File – Open -Tube- Castorke_ tube56_ blome
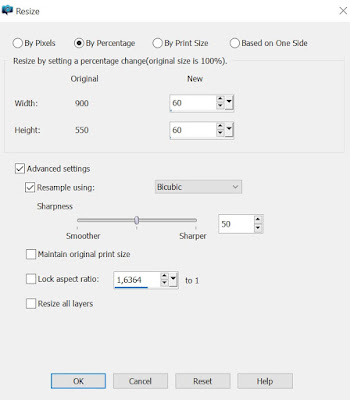
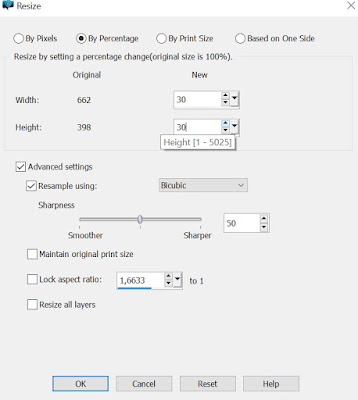
32.Image – Resize
33. Copy – Paste As New Layer
34.Activate pick tool
35.Selections – Invert
36.Edit – Cut
37.Blend Mode – Luminance
38.Effects – Alien Skin Eye Candy 5: Impact / Perspective Shadow( Drop Shadow, Blurry)
39-Selections – Select None
40-Effects – 3D Effects – Drop Shadow
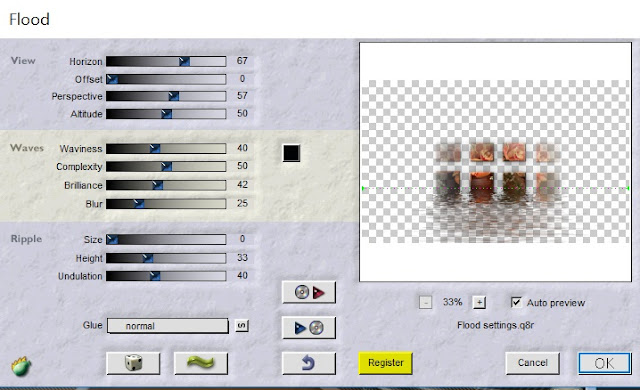
41.Effects – Flaming Pear- Flood
42.File – Open – Deco1EllyCreaties1532016@
43.Open Crop Tool(R)
44. Copy – Paste As New Layer
45.Image – Free Rotate
46.Open – Pick Tool(K)
47.Open – Deco-Sah Love Me Deco 2
48.Copy – Paste As New Layer
49.Pick Tool (K) – Blend Mode – Luminance ( Legacy)
50.Open -Deco- Sah Love me Deco 3
51.Copy – Paste As New Layer
52.Pick Tool (K) – Blend Mode – Luminance (Legacy)
53.Open – Tube – SvB Waterlelie op Blad @
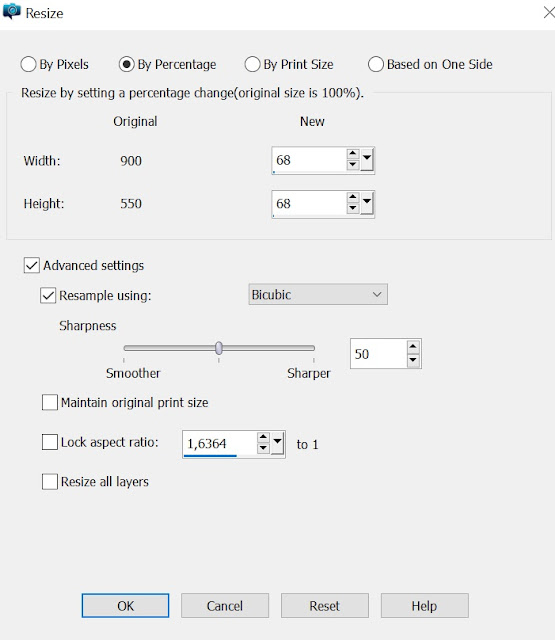
54.Image – Resize
55.Copy – Paste As New Layer – Blend Mode- Luminance ( Legacy)
56.Pick Tool ( K)
57.Effects – Alien Skin Eye Candy 5 :Impact / Perspective Shadow( Drop Shadow, Blurry)
58.Open- Tube – 93_Femmes_Page7_Animabelle@
59.Image – Resize
60.Pick Tool (K)
61.Effects – Alien Skin Eye Candy 5: Impact / Perspective Shadow( Drop Shadow, Blurry)
62.Adjust – Sharpness- Sharpen
63.Open – Text-Sah Love me Text
64. Copy – Paste As New Layer – Blend Mode Screen
65. Pick Tool ( K )
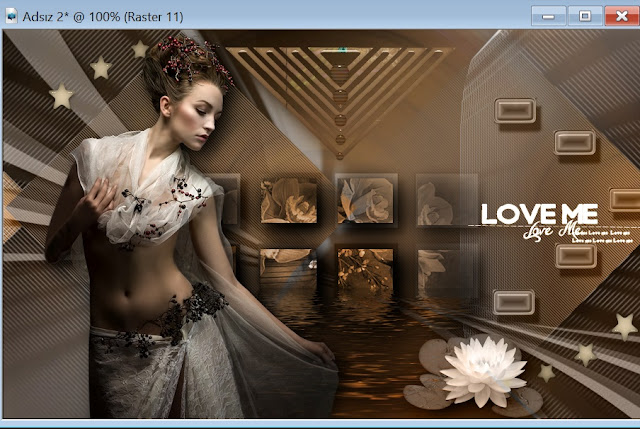
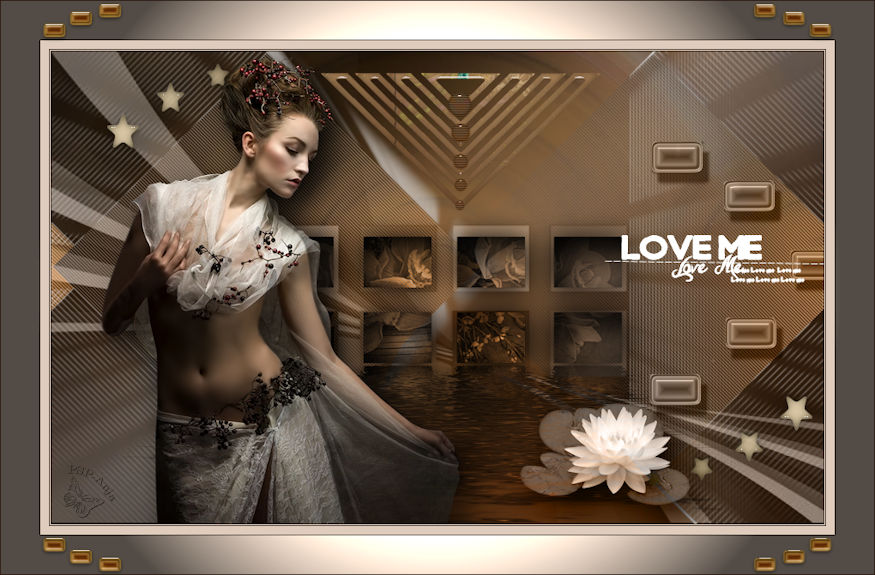
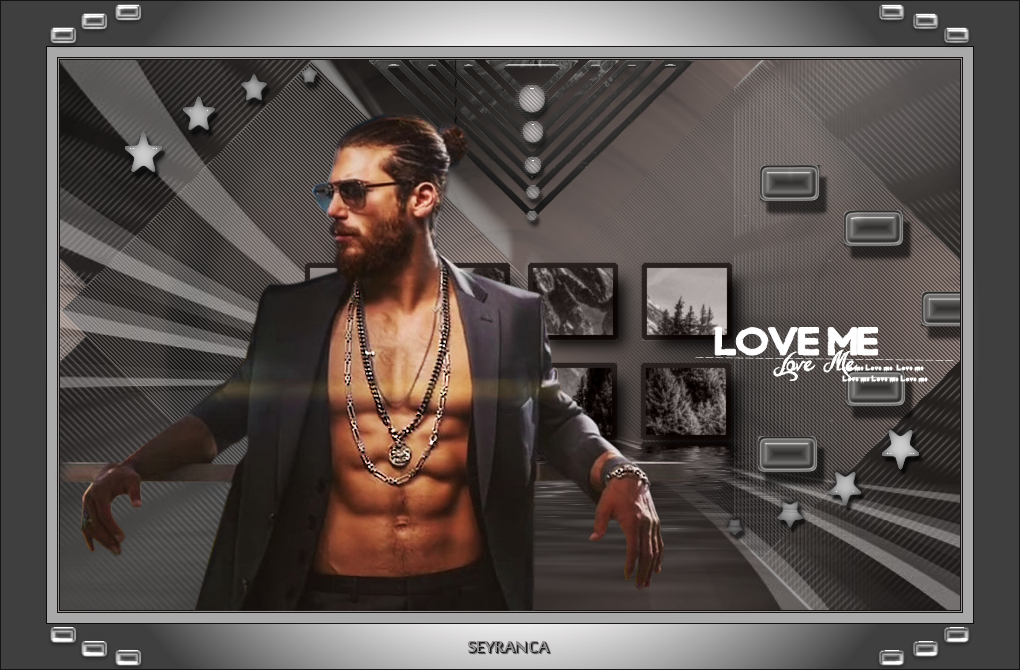
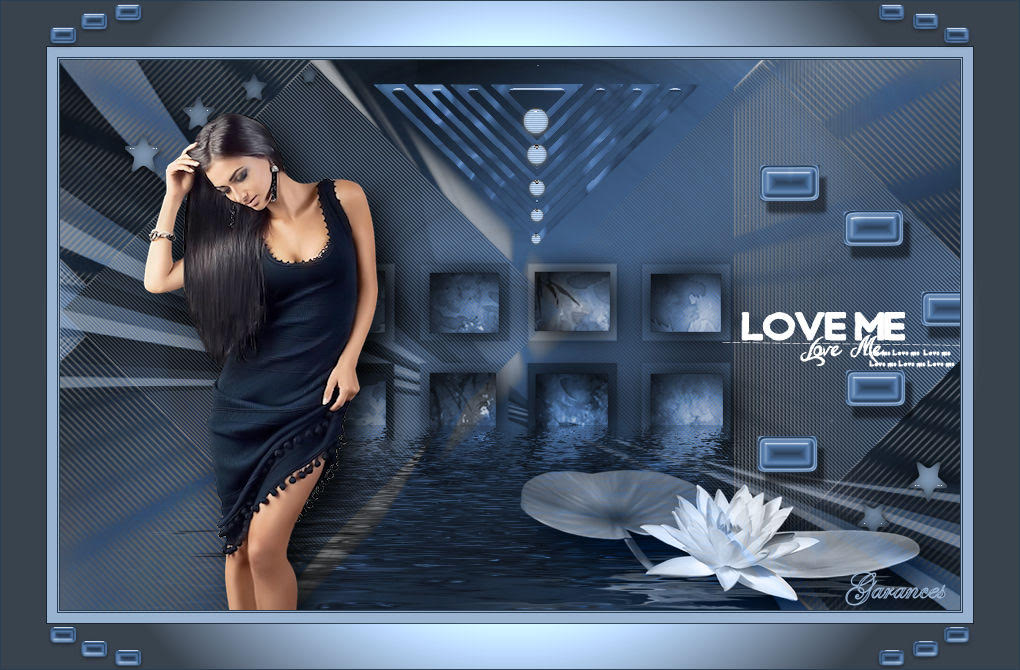
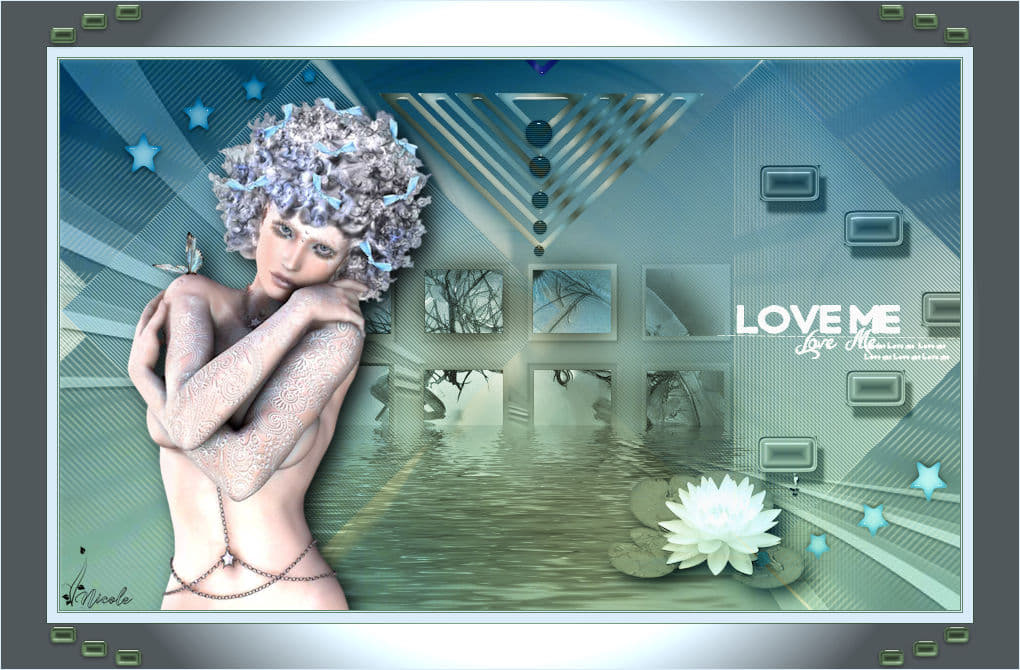
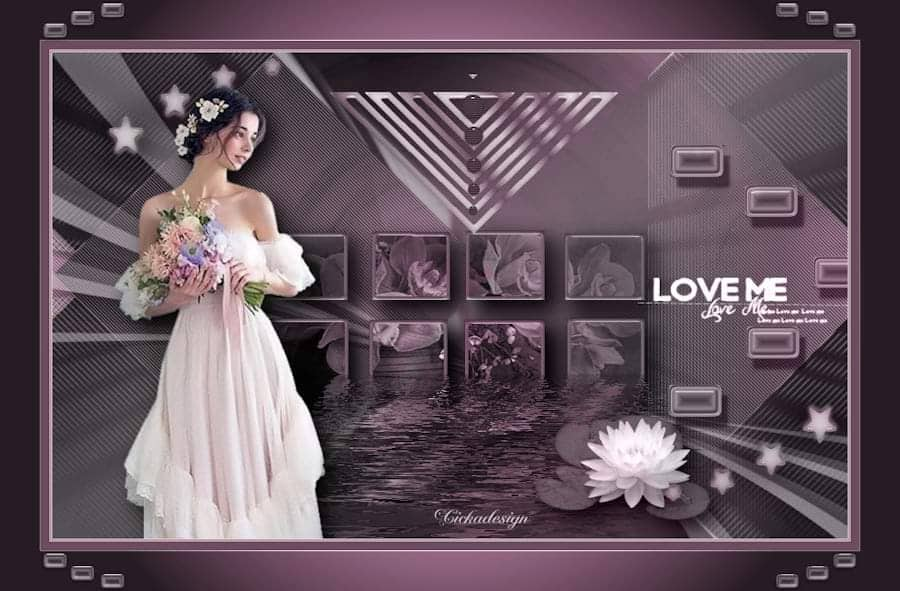
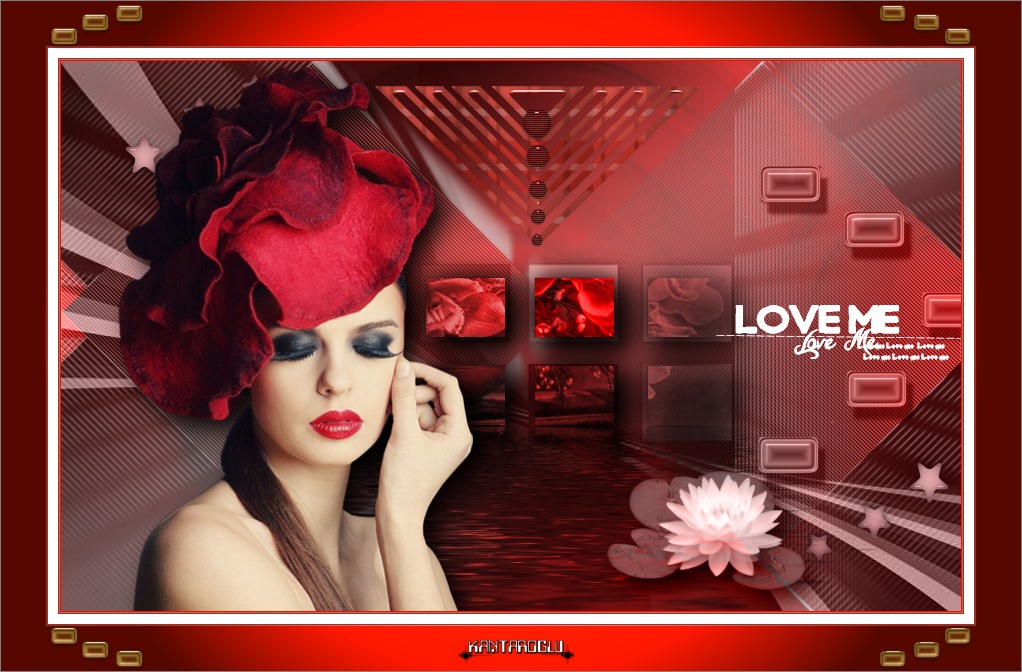
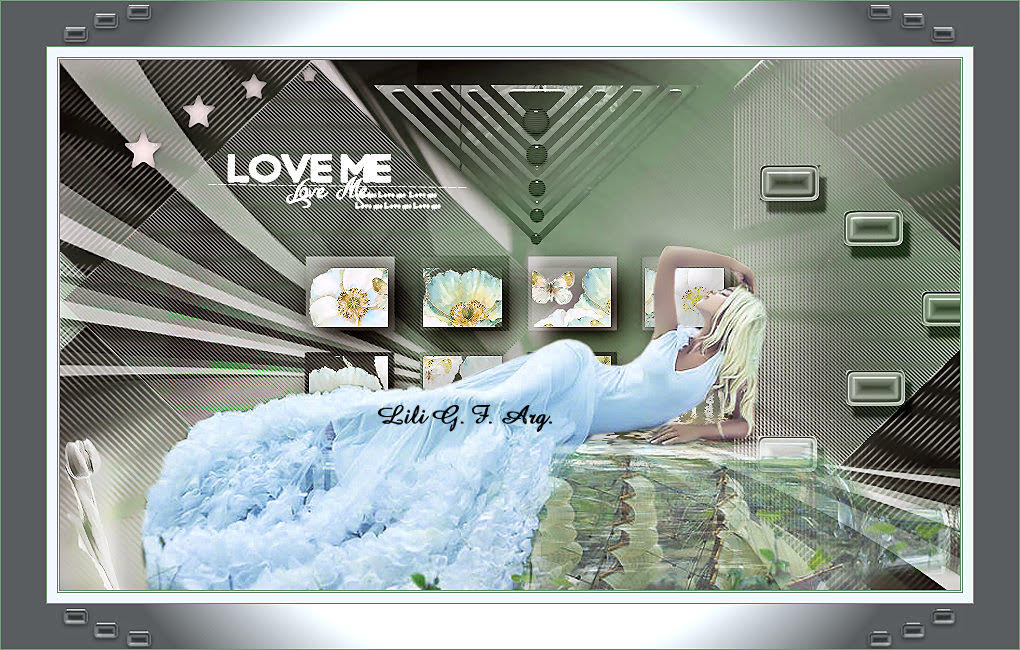
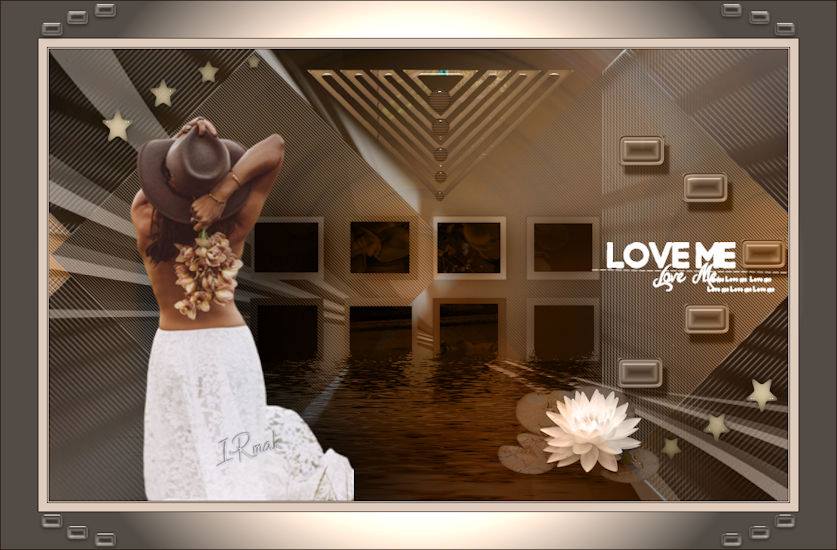
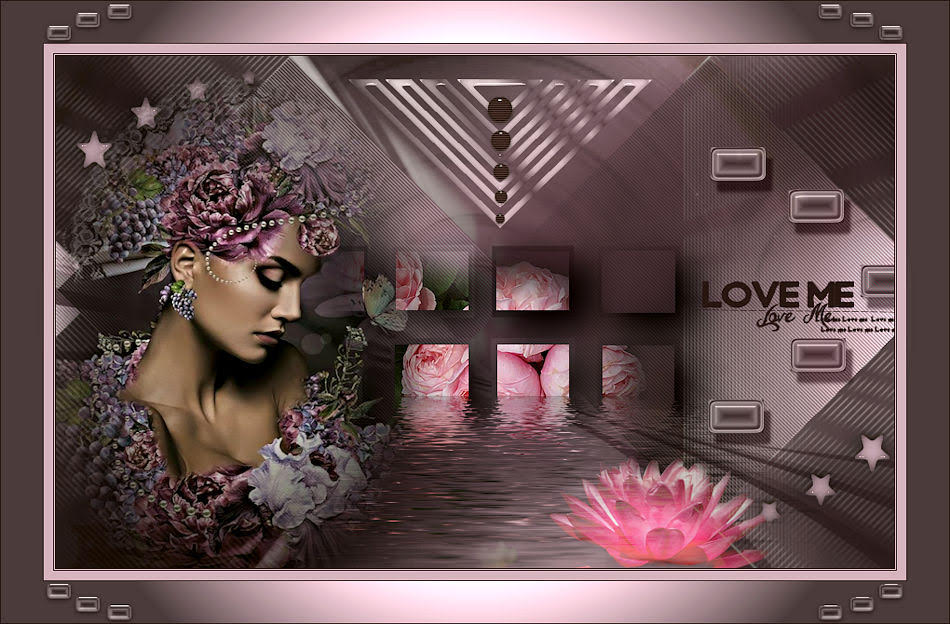
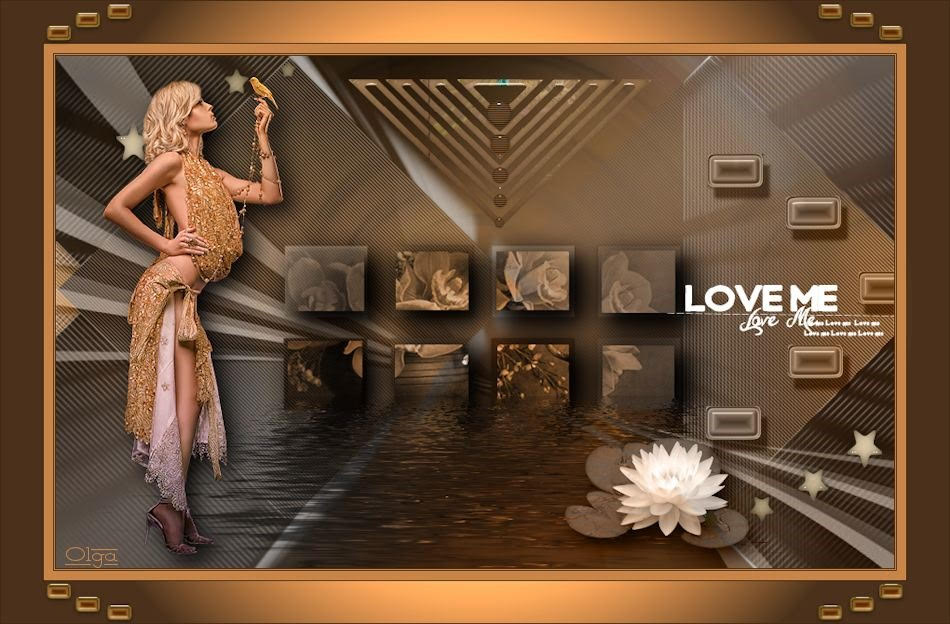
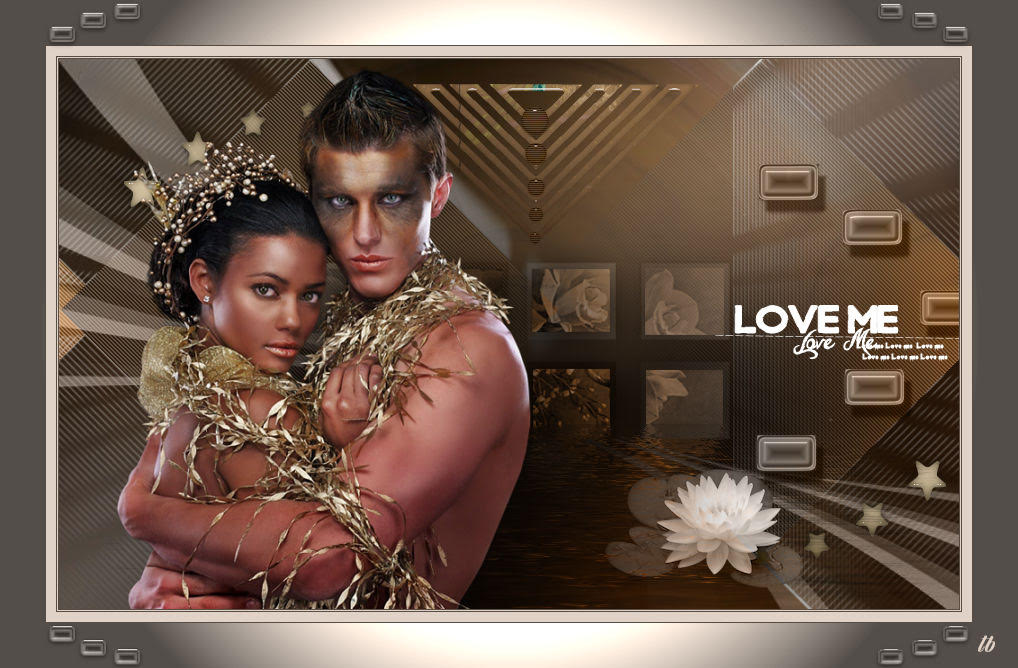
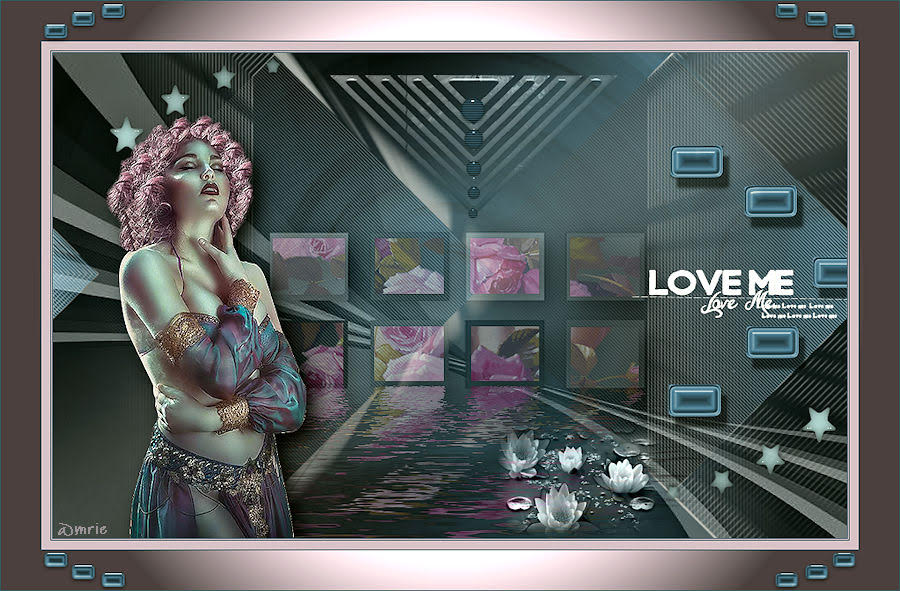
Your work this way …
66.Image – Add Borders Pixels 1 Color #2d190c
67.Image – Add Borders Pixels 1 Color #dfccbc
68.Image – Add Borders Pixels 1 Color #2d190c
69.Image – Add Borders Pixesl 10 Color #dfccbc
70.Image – Add Borders Pixels 1 Color #2d190c
71.Image – Add Borders Pixesl 45 Color #dfccbc
72.Open – Magic Wand – Mark Last Edge
73.Effects – Filter Unlimited 2.0 – Filter Factory Gallery A – Spotlight
74. Selections – Select None
75.Open -Deco- Sah Love me Decoo 4
76. Copy – Paste As New Layer
77.Image – Add Borders Pixels 1 Color #2d190c
78.Add your signature to your work
79.Image – Resize – 900×550 ( Resize all Layers )
Save as Jpg
Test çalışması için Vahide Hocam’a çok teşekkür ederim.
Thank you very much, Lisette …
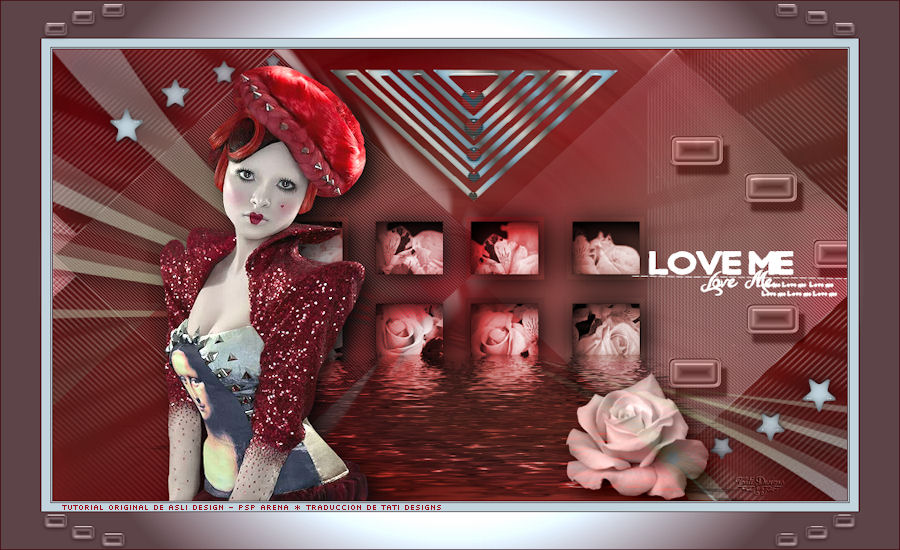
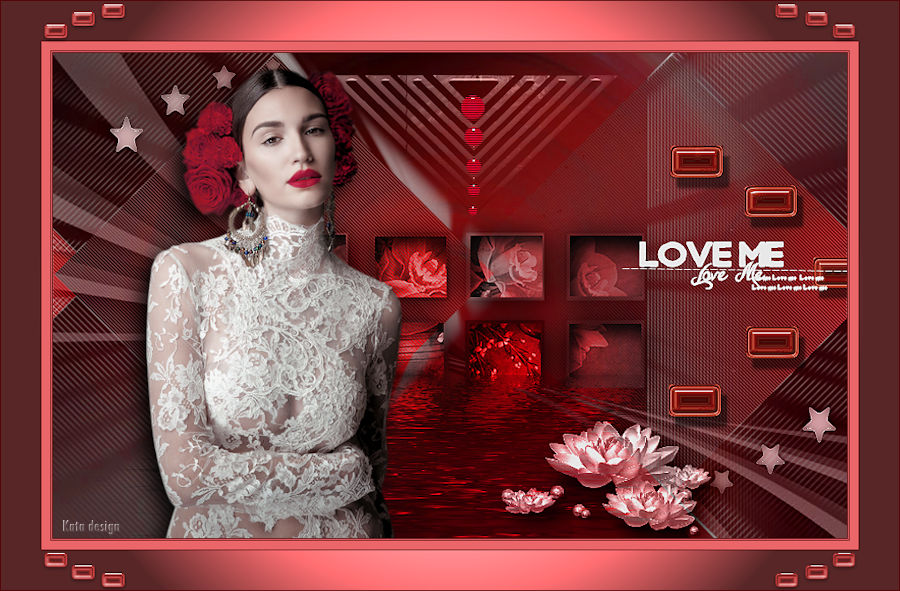
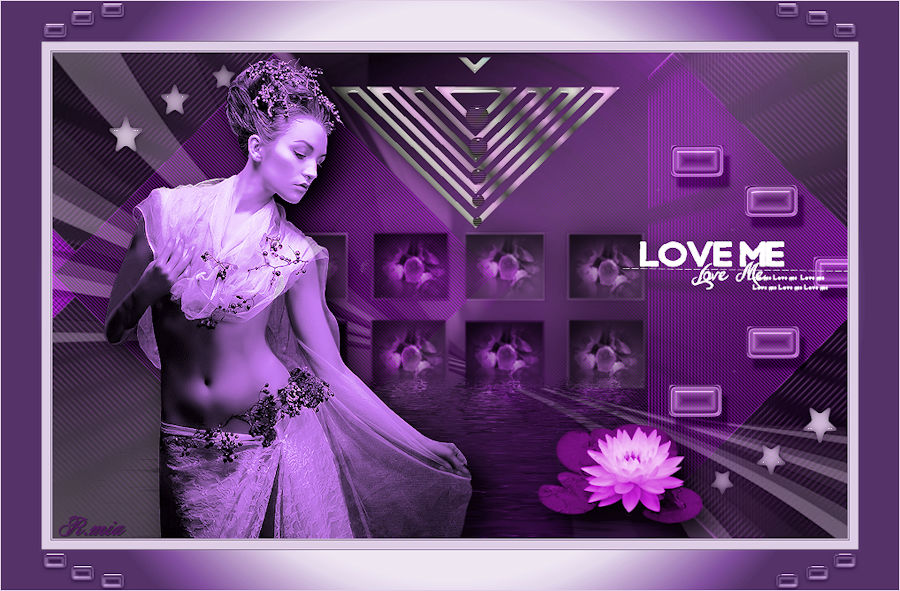
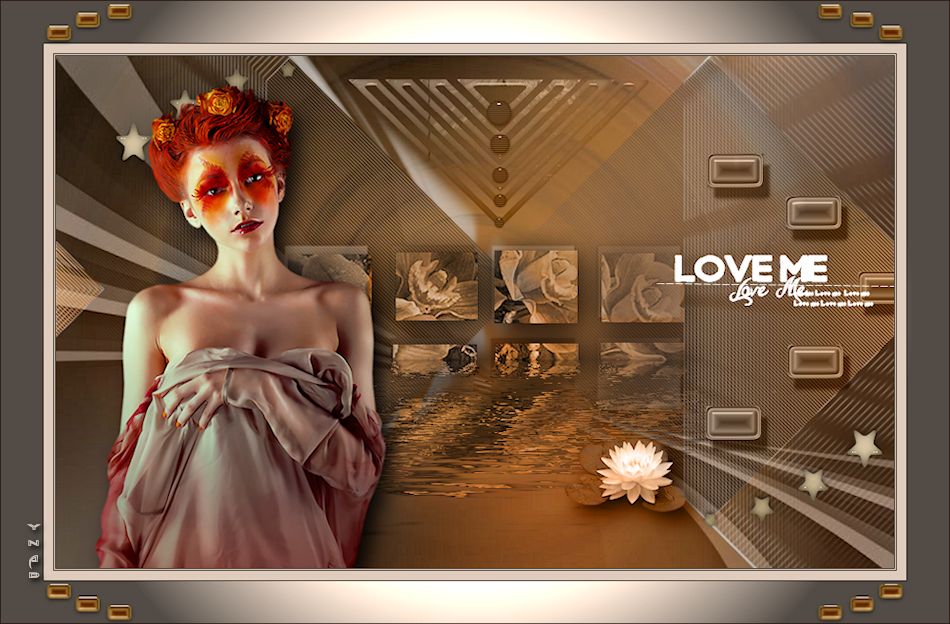
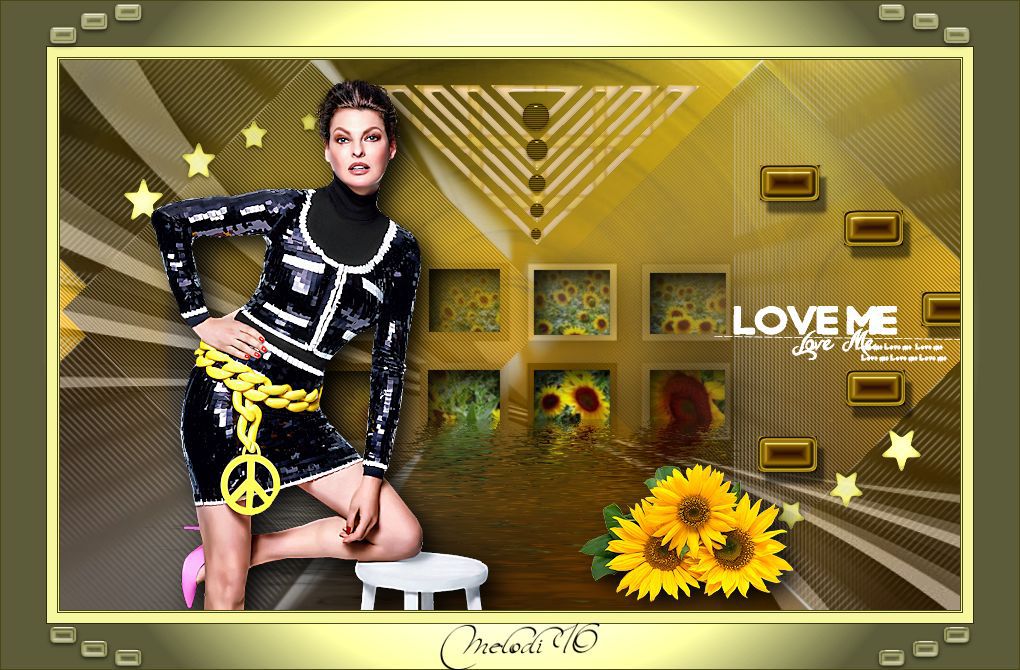
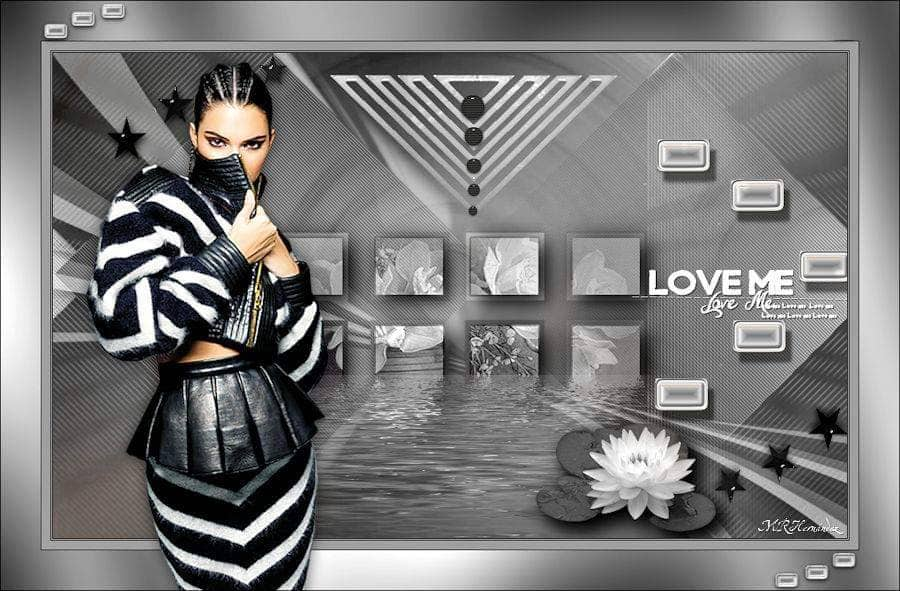


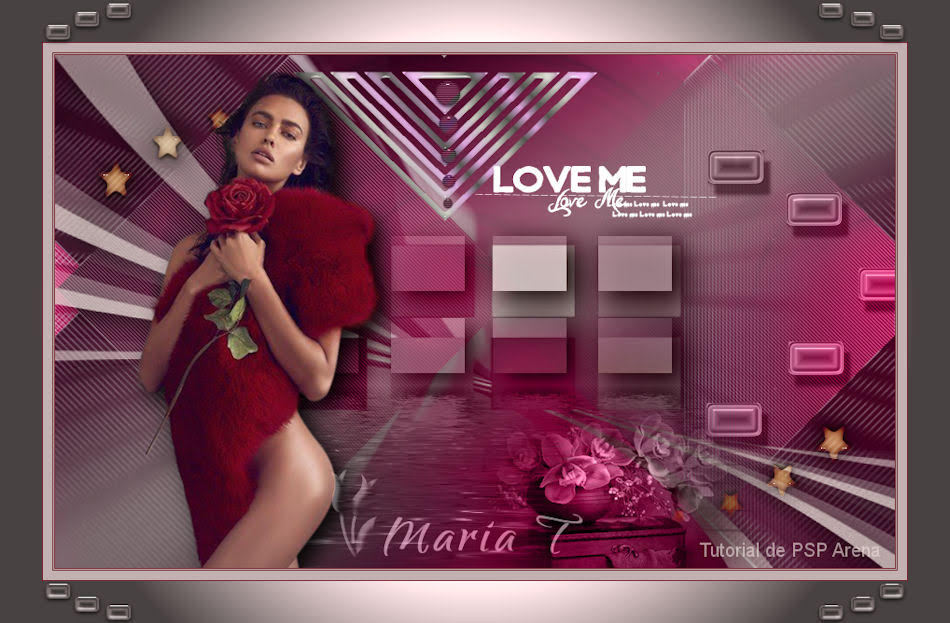
Sofia
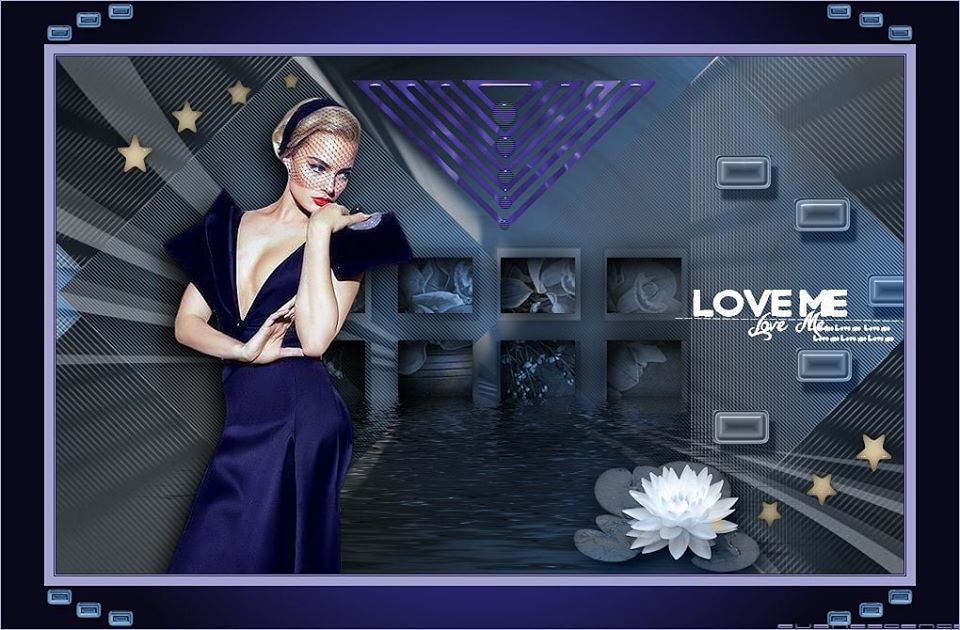
Saturnella
