
 Inge thank you so much for the Deutsche translation
 Lisette thank you so much for the dutch translation
 Franie thank you so much for the French translation
 Clo thank you so much for the İtalian translation
This i miss you so much Tutorial is written with Corel PSP X6
The colors, layer density and blending mode are for the materials of this lesson.
If you use different material, just take a look at what is best for you
Materials
Tube : Lily
Mask : @nn_310513_mask_280_tdstudio
Deco : Mersel
Plugins
Mehdi_Wawy Lab 1.1
Vanderlee_Unplugged-X
Filters Unlimited 2.0
Alien Skin Eye Candy 5 – İmpact -Glass
Alien Skin Eye Candy 5 – İmpact – Perspective Shadow-Drop Shadow
Colors
#6f635d #c1a583 #ffffff #000000
Foreground : #6f635d
Background : #c1a583
STEP 1
File-Open – New 900 x 600
Make a gradient – Linear-
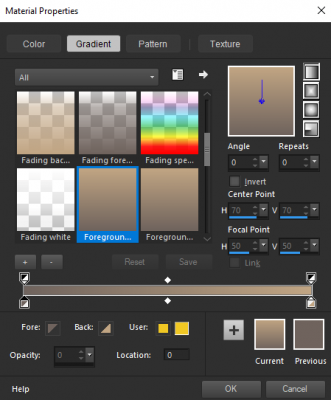
Flood Fill Tool – Fill with Gradient
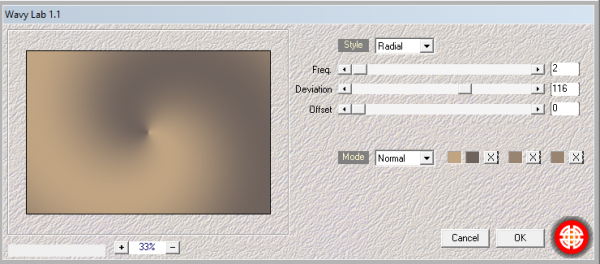
Effects_Plugins_Mehdi_Wawy Lab 1.1
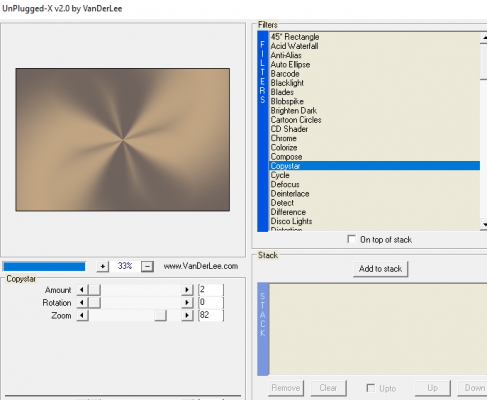
Effects_Plugins_Vanderlee_Unplugged-X _Copystar
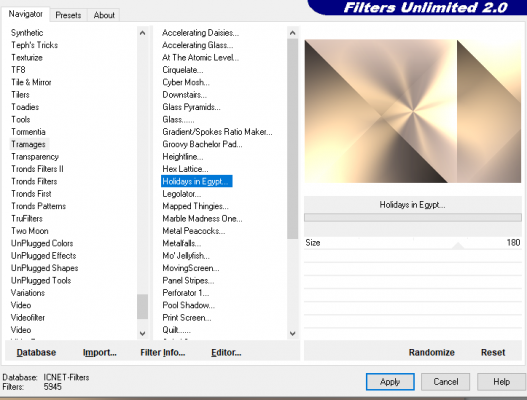
Effects_Plugins_Filters Unlimited 2.0 _ Tramages_Holidays in Egypt
STEP 2
Selections_Select All
Selection_Modify_Contract 50 pixels
Selections_Promote Selection to Layer
Selections_Select None
Effects_Edge Effects_Enhance More
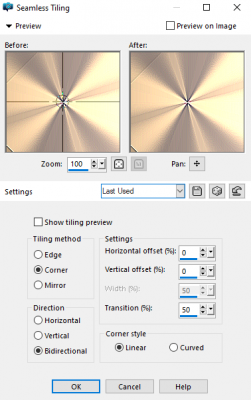
Effects_İmage Effects_Seamless Tiling
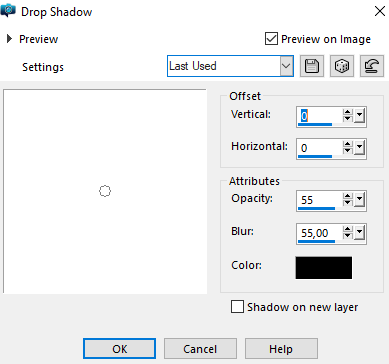
Effects_3D Effects_Drop Shadow
STEP 3
Layers – New Raster Layer
Flood Fill Tool – Flood #ffffff
Open – @nn_310513_mask_280_tdstudio
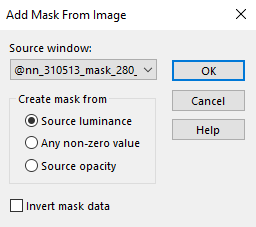
Layers – New Mask Layer – From İmage -@nn_310513_mask_280_tdstudio
Layers – Merge – Merge Group
Effects-Plugins-Alien Skin Eye Candy 5 – İmpact -Perspective Shadow – MerSeL_Miss you_persp shadow-1
Opacity – 80
Adjust – Sharpness – Sharpen More
STEP 4
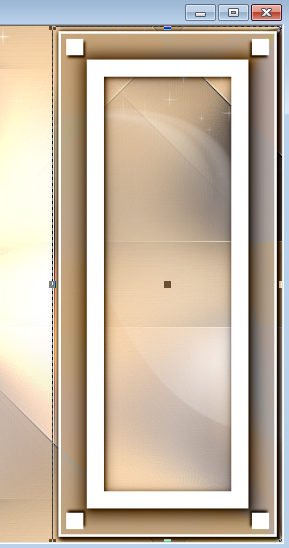
File-Open-Decom_MerSeL-001
Edit – Copy
Edit – Paste As New Layer
Pick Tool – Position X :632 Position Y : 0
Blend Mode – Luminance (L)
STEP 5
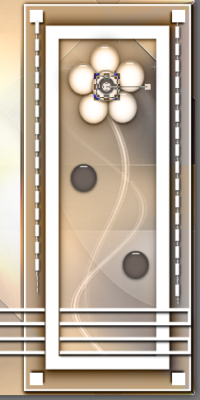
File-Open-Decom_MerSeL-002
Edit – Copy
Edit – Paste As New Layer
Pick Tool – Position X :1 Position Y : 467
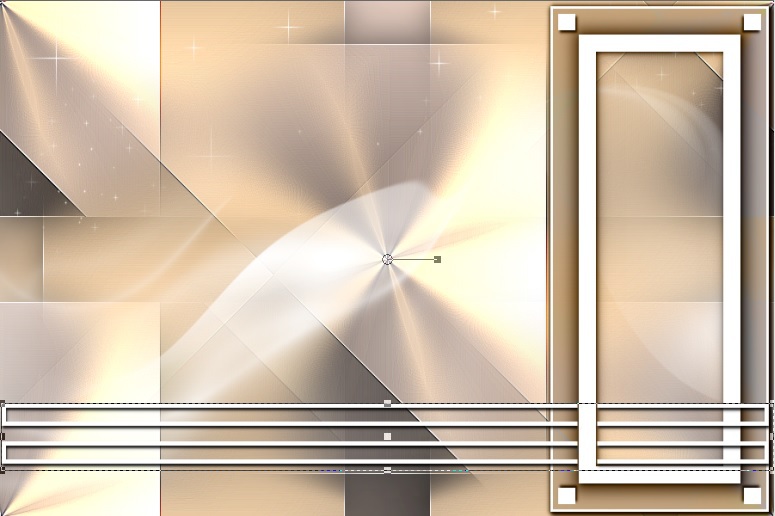
STEP 6
File-Open-Decom_MerSeL-003
Edit – Copy
Edit – Paste As New Layer
Pick Tool – Position X :654 Position Y : 30
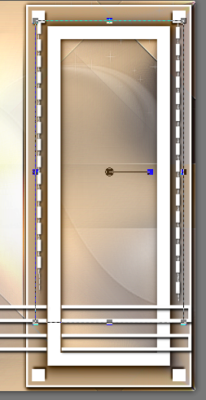
STEP 7
File-Open-Decom_MerSeL-004
Edit – Copy
Edit – Paste As New Layer
Pick Tool – Position X :677 Position Y : 38
Blend Mode – Luminance (L)
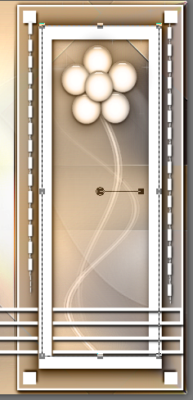
STEP 8
Layers – New Raster Layer
Selections-Load/Save Selection-Load Selection From Disk- Mersel_miss-select
Flood Fill Tool
Foreground : #6f635d
Effects-Plugins-Alien Skin Eye Candy 5 – İmpact -Glass- MerSeL_Glass_Clear
Selections – Select None
Adjust – Sharpness – Sharpen
Pick Tool – Position X :705 Position Y : 245
Layers – Duplicate
Pick Tool – Position X :784 Position Y : 377
Layers – Duplicate
Image-Resize-/60
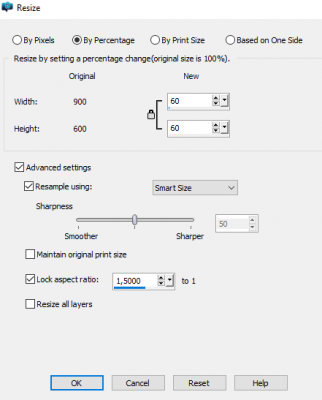
Pick Tool – Position X :750 Position Y : 115
STEP 9
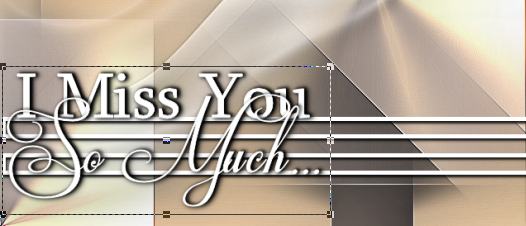
File-Open-Text_Mersel_miss you
Edit – Copy
Edit – Paste As New Layer
Pick Tool – Position X :3 Position Y : 406
STEP 10
File-Open-Decom_MerSeL-005
Edit – Copy
Edit – Paste As New Layer
Pick Tool – Position X :27 Position Y : 45
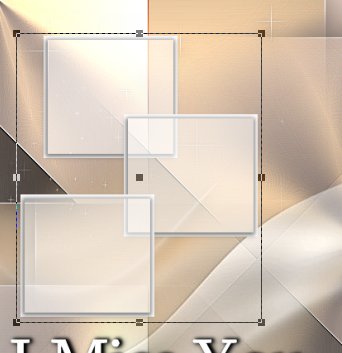
Selection -Select All-Float
STEP 11
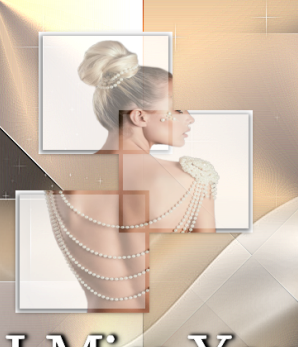
File-Open- Tube- Femme 646 by Lily
Edit – Copy
Edit – Paste-Paste Into Selection
Selections – Select None
Effects-Plugins-Alien Skin Eye Candy 5 – İmpact -Perspective Shadow -MerSeL_Miss you_persp shadow-1
Adjust – Sharpness – Sharpen More
STEP 12
File-Open-Decom_MerSeL-006
Edit – Copy
Edit – Paste As New Layer
Pick Tool – Position X :42 Position Y : 30
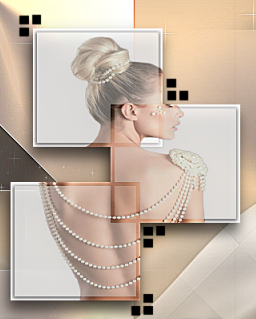
STEP 13
File-Open- Tube- Femme 646 by Lily
(adjust the size of your tube and place it as in the picture)
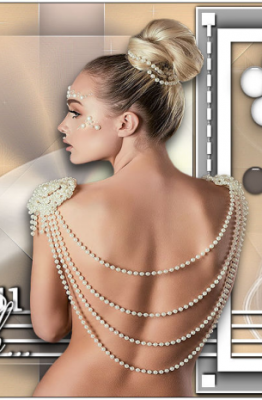
STEP 14
Image – Add Borders – Symmetric 1 Pixel color #000000
Image – Add Borders – Symmetric 4 Pixel color #ffffff
Image – Add Borders – Symmetric 2 Pixel color #000000
Image – Add Borders – Symmetric 45 Pixel color #ffffff
Magic Wand Mode: Add (Shift)
Selections – Invert
Effects-Plugins-Alien Skin Eye Candy 5 – İmpact -Perspective Shadow -MerSeL_Miss you_persp shadow-2
Selections – Select None
STEP 15
File-Open-Decom_MerSeL-007
Edit – Copy
Edit – Paste As New Layer
Pick Tool – Position X :8 Position Y : 8
STEP 16
File-Open-Decom_MerSeL-008
Edit – Copy
Edit – Paste As New Layer
Pick Tool – Position X :13 Position Y : 15

Image – Add Borders – Symmetric 1 Pixel color #000000
ADD YOUR WATERMARK
Image – Resize 900 Pixels
File-Save As Jpeg


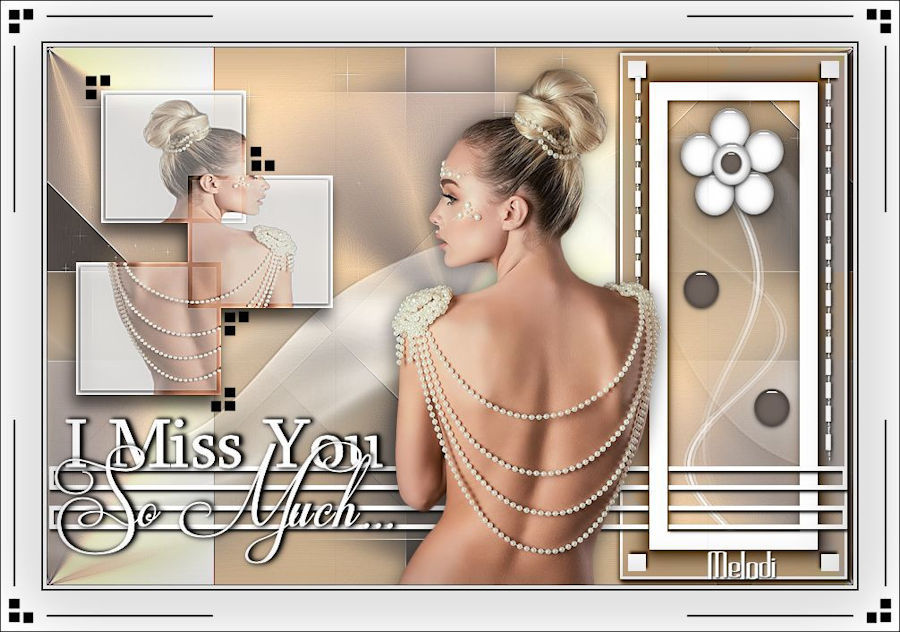
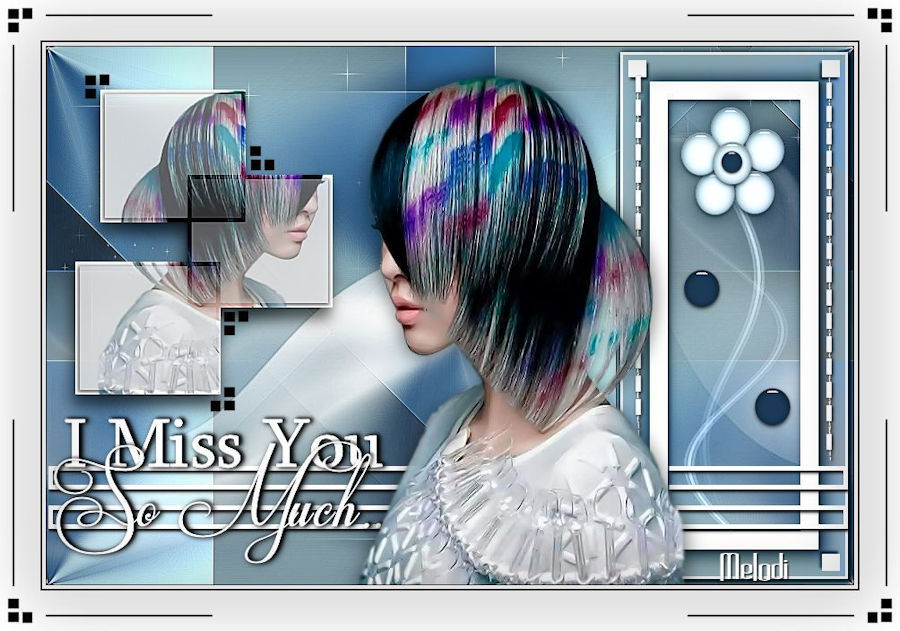

Teşekkürler ATA
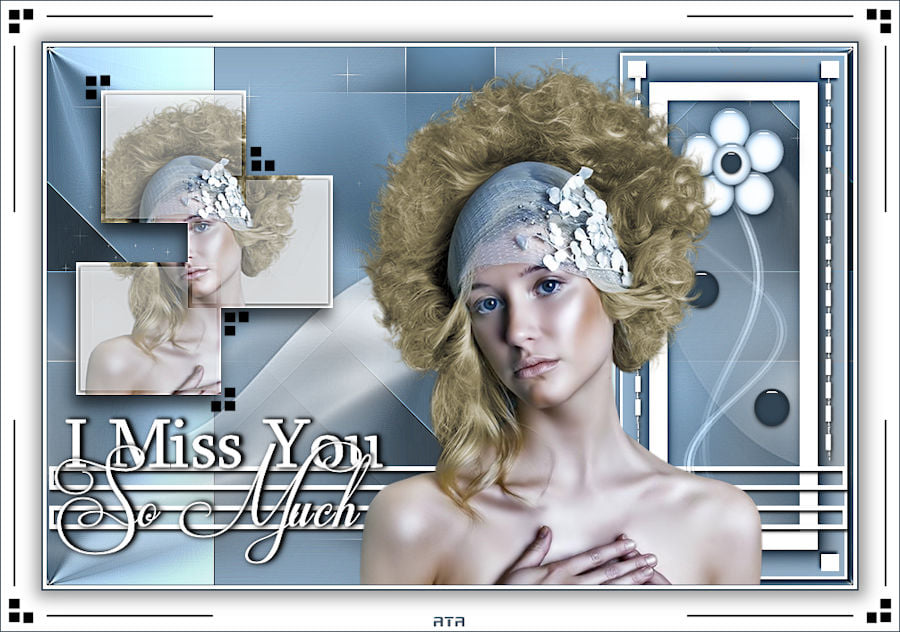
Teşekkürler Mustafa Kemal
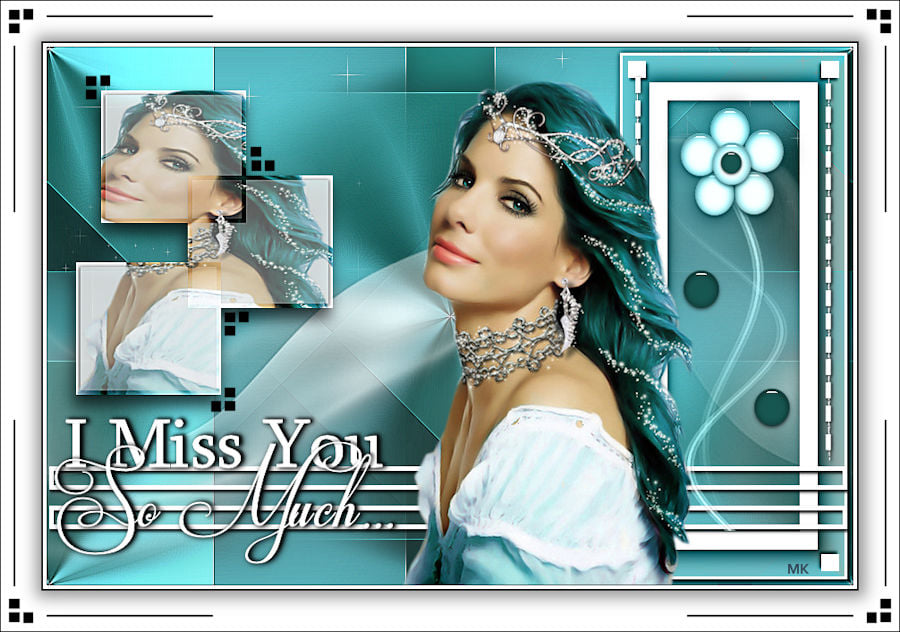
Thanks Kata Kiss

Thanks Lisette
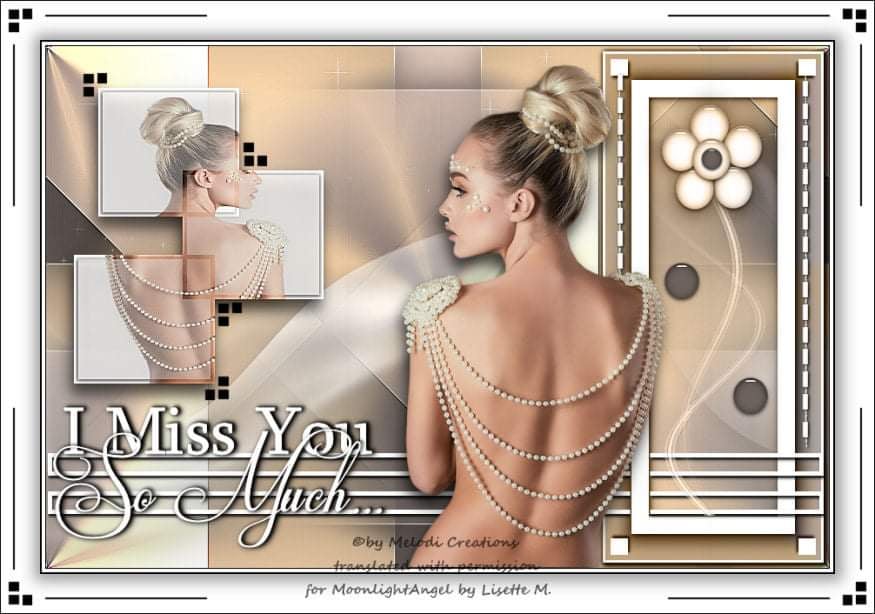
Thanks Elise

Thanks Erzsike

Teşekkürler Barbaros
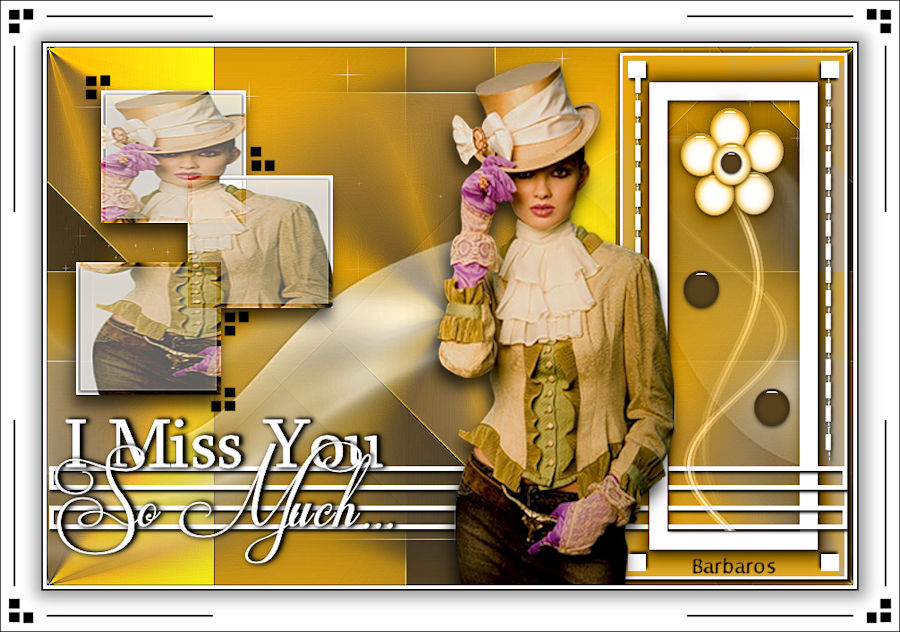
Teşekkürler Barbaros

Tesekkürler Ata

Thanks Marcsi Páble

Teşekkürler Mustafa Kemal

Thanks Inge
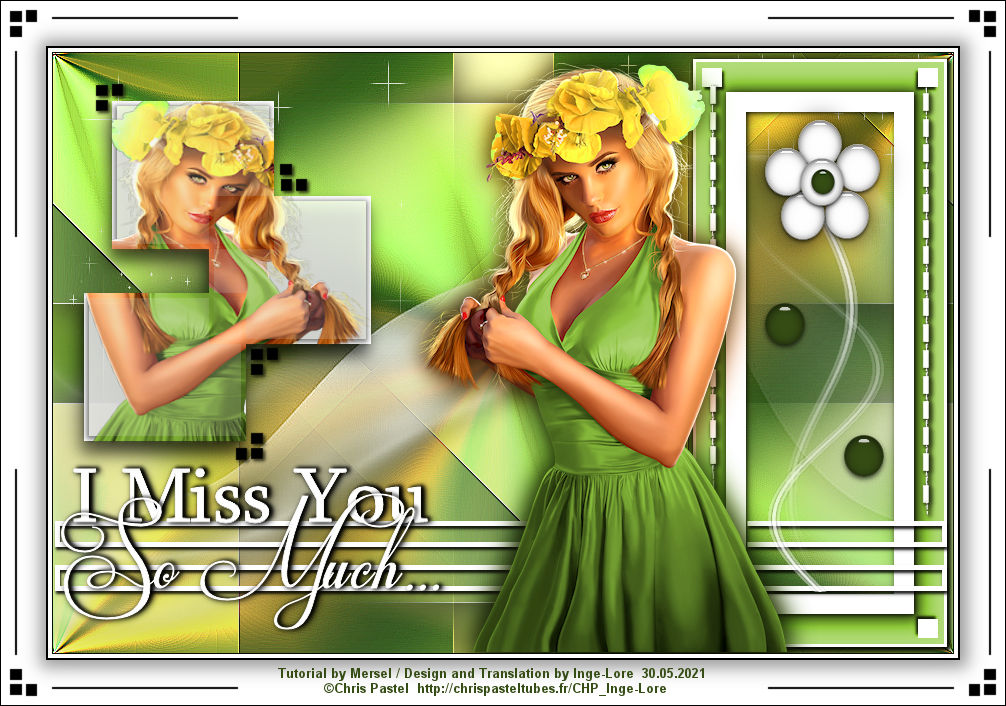
Thanks KarinM

Thanks Franie


Thanks Garances

Thanks Renee

Thanks Mamy Annick

Thanks Alyciane
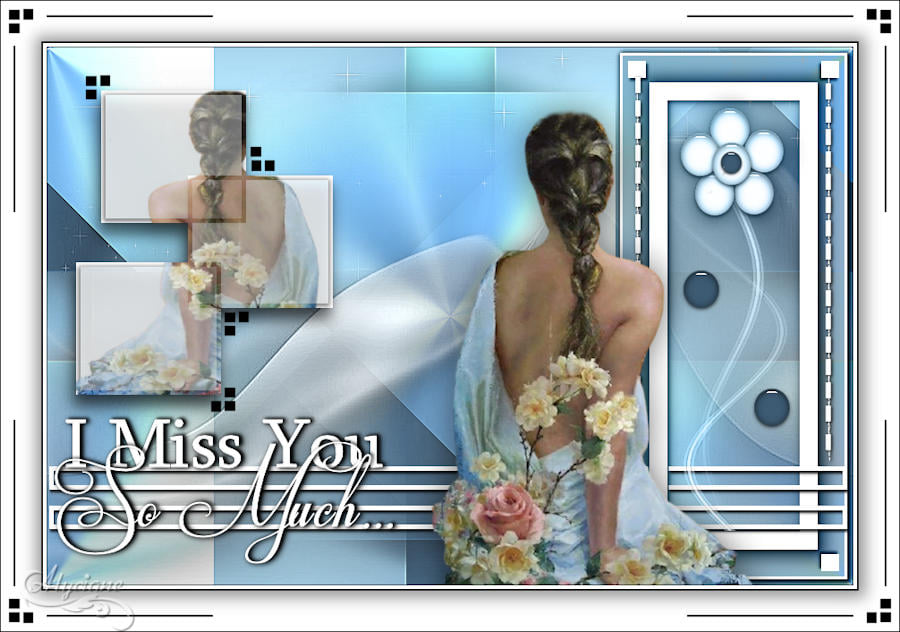
Thanks Brigitte Alice

Thanks LBDM

Thanks Samanta

Thanks Papy
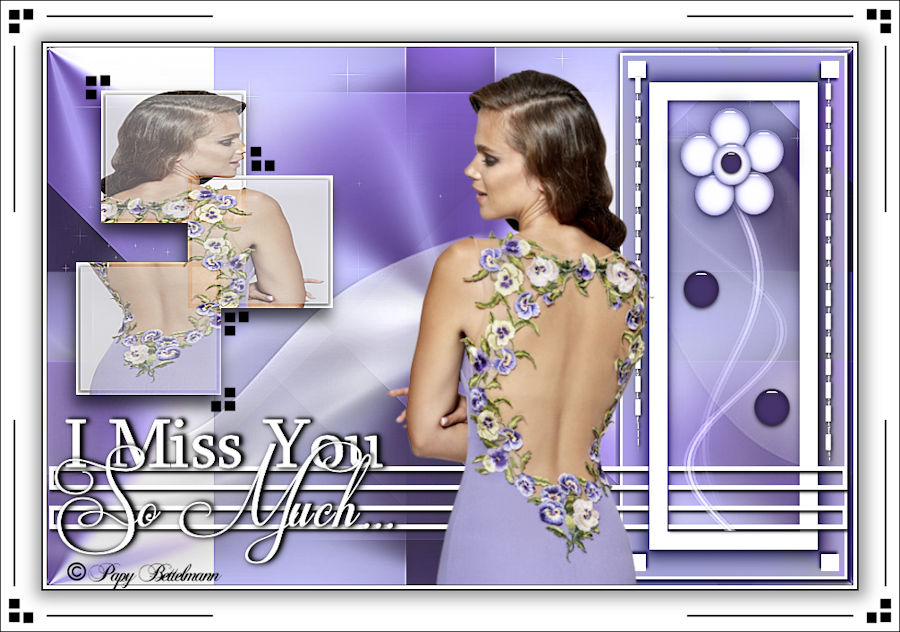
Thanks Cleide


Thanks Juillet

Thanks Mane

 Mersel’s other tutorials